Table of contents
Mitre cuts allow you to join two parts at an angle. The technique has significant advantages. For example, it provides stability and creates a visually appealing result. Whether you want to construct a stable frame or attach skirting boards, considerable precision is required when measuring and sawing. This guide provides you with information on the accessories and steps required to cut an exact mitre.
What is a mitre cut?
Mitre is the technical term for a corner joint between two structural components. It is created by bevelling the ends of the two components so that when they are combined, they form a desired angle — generally 90-degrees. This is achieved through a mitre cut. With proper precision, the parts fit together seamlessly and can be joined almost invisibly with glue or dowels.
Mitring has clear advantages when creating corner joints of frames or baseboards:
- The mitre joint is particularly stable.
- The junction of the parts is hardly visible since it is directly on the edge.
The technique is mainly applied to wooden materials. Mitring is also widely used by both tradespeople and amateurs. With the right equipment, cutting ceramics or metal is also possible.
If you are working with wood, it is best to place the materials in the workshop one or two days beforehand. This allows the wood to adapt to the ambient temperature and humidity and prevents it from warping after assembly.
Calculating mitre cuts correctly
If the components are identical, the mitre angle is half the desired angle for each. Thus, for a corner with a 90-degree angle, you must make a mitre cut of 45 degrees on each component. For a 120-degree angle, the mitre angle is 60 degrees each.
Finding the right mitre angle becomes somewhat more complicated when the parts have different widths. In this case, one uses a false mitre. This is when the parts are cut to different angles. Yet the addition of both mitre angles must still result in the desired angle of the corner. For example, a 90-degree angle can be created from two mitre angles of 42 degrees and 48 degrees. In this case, you must initially calculate the mitre angle. You can use a calculator to determine all the values of the mitre if you’d like to avoid mathematical formulas.
When are mitre cuts necessary?
Mitre cuts are commonly used for building furniture or frames and when laying flooring. Typical examples are:
- Wooden floors: When you install parquet or laminate, you need to leave space for expansion joints on the walls because the flooring can expand or contract with temperature changes. These expansion joints are usually covered with baseboards to have a nice transition from floor to wall. You will need to mitre the baseboards to perfectly match the dimensions of your walls.
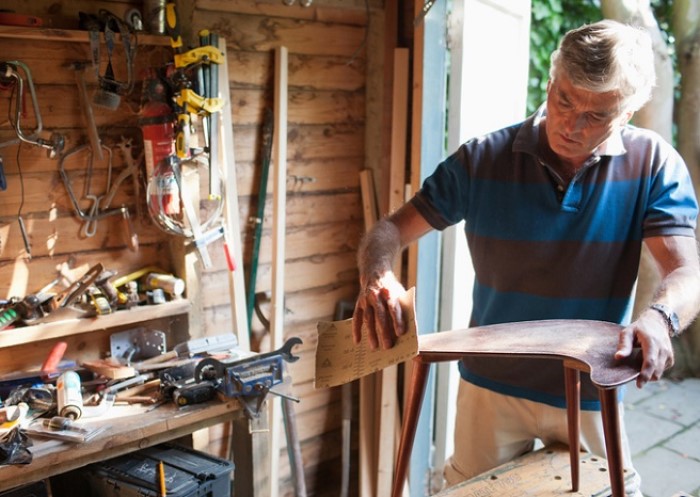
- Furniture making: Mitre cuts are standard practice for professionals. Even if you’re trying to make furniture at home, it’s best practice to mitre beams and boards. It will make your furniture sturdy and give it a professional look. Additionally, these cuts are useful for joining components with a precise fit. For example, if you install a countertop in a kitchen and you want the countertop to fit exactly into the corners.
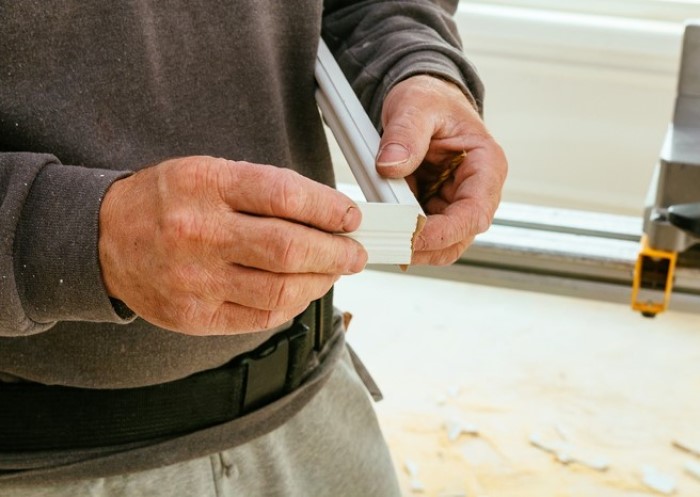
- Tiling: Mitre cuts are used to trim the tile for decorative wall borders or baseboards. When mitring skirting boards, make sure you use the correct tools for working with tiles, as they must be bevelled on their edge to form a neat finish.
- Ceiling decoration: You can use mitre cuts to mount ceiling mouldings or stucco elements for visually appealing ceilings.
Tools and accessories for precise mitre cuts
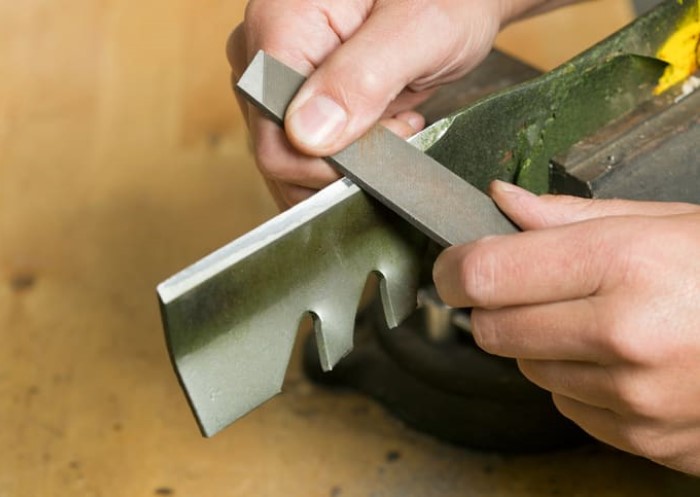
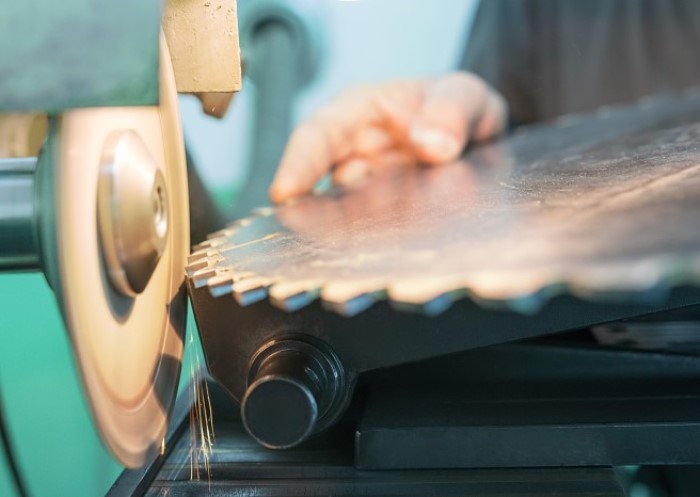
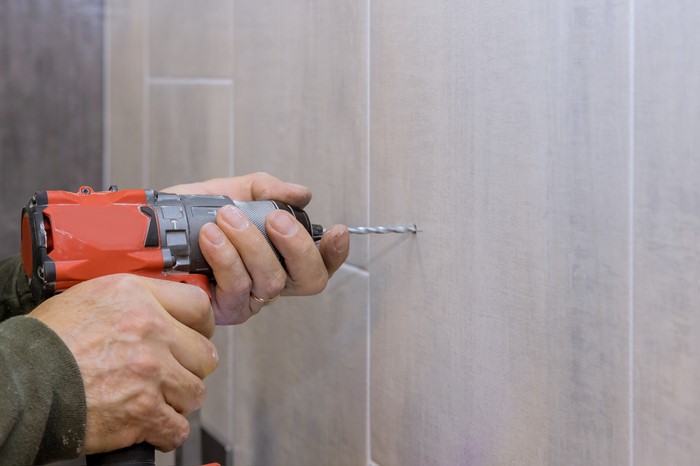
The most important tool is the saw. Wood is the most common material for mitring, but other materials can also be mitred with proper saw blades. Regardless of material, different types of saws can be used for mitring.
- Mitre saws: Mitre saws are the optimal tool for mitring workpieces. They can be adjusted flexibly to any angle and are smaller than chop saws. This makes them well-suited for delicate workpieces.
- Hand saws: When mitring with hand saws, fine saws or hacksaws are recommended for precision. Ripsaws are only suitable to a limited extent due to their difficulty creating straight surfaces.
- Jigsaws: Jigsaws are not ideal for mitring due to their shortcomings in creating clean, smooth surfaces. Always work slowly and with care to avoid splinters when using a jigsaw.
- Portable buzz saws: Mitring is simple with buzz saws. You can cut long workpieces evenly and precisely using guide rails. You must always align the workpiece and guide rail.
- Chop saws: Chop saws are stationary buzz saws. They can mitre a variety of workpieces due to their large and efficient design. They can even cut metal with the appropriate saw blade. The only drawback to chop saws is their inability to cut at an angle other than 90 degrees. You must mark the desired angle well and guide the component accordingly.
Depending on which saw you use, you will need other accessories to obtain the correct angle on the workpiece.
- Mitre boxes are devices with slots at various standard angles to be used when working with hand saws. You place the piece to be cut into the mitre box then the saw blade is fed through the slot corresponding to the proper angle.
- Using a jigsaw requires an angular saw shoe. It allows you to set a desired mitre angle and cut a uniform mitre diagonally into the workpiece.
- Mitre bevels are a kind of protractor. They allow you to precisely measure the required angle, like the corner of the room, and then transfer it to the workpiece.
You will also need a pencil and folding ruler for measuring and marking. Additionally, screw clamps are required to hold your workpieces in place while sawing.
Professional instructions for mitre cuts
The following step-by-step instructions provide all the details you need to find the right mitre angle and create a successful mitre cut. You will need some of the above tools and accessories to complete this tutorial.
- Measure the angle
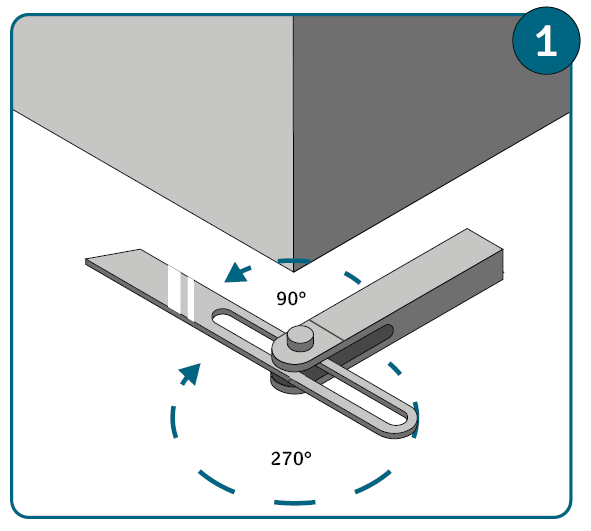 First, use a mitre box to measure the angle you want for your workpieces.
 - Calculate the mitre angle
 Now calculate the mitre angles of your components. For identical workpieces, you only need to halve the measured angle. If you want to join materials of different thicknesses, you can use the mitre calculator
 - Transfer the mitre angle
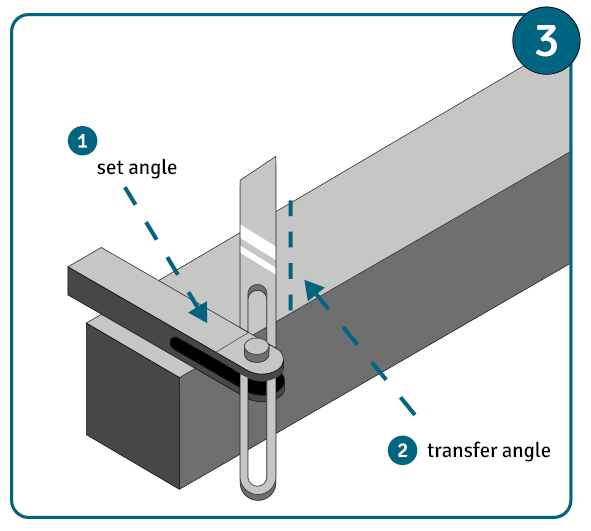 Set the calculated angle on the mitre bevel. Tighten the locking screw so the angle can’t change. Then place the bevel against your workpiece and trace the angle with a pencil.
 - Select the mitre angle of the saw
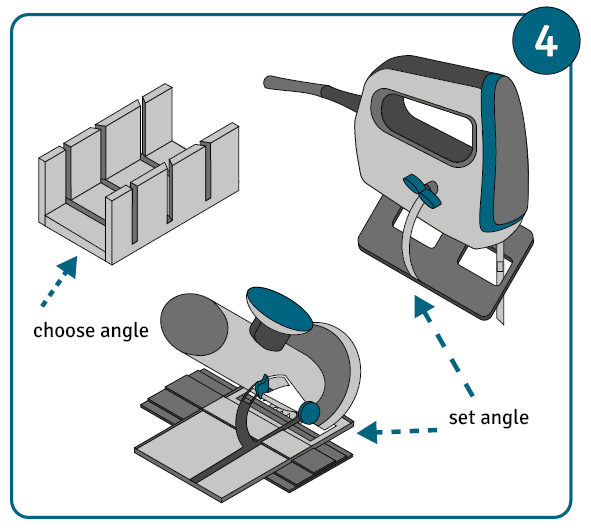 Depending on the size and type of your saw, select the appropriate mitre box or set the determined angle on either the mitre saw or saw shoe of your jigsaw. If you are using a portable buzz saw, it is also best to use a guide rail or template made of a suitable material.
 - Fasten the workpiece
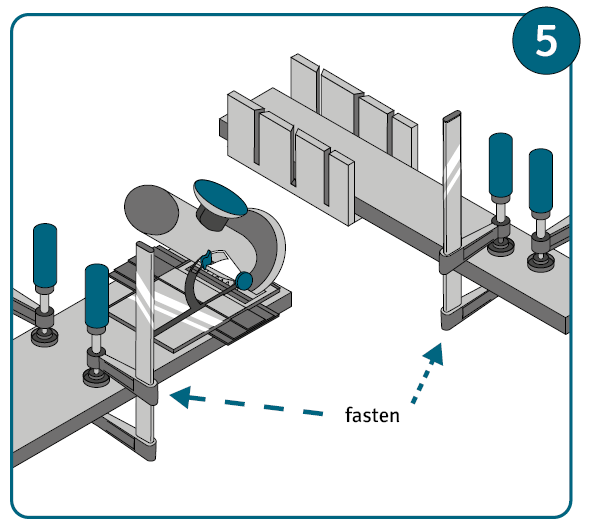 Connect the workpiece securely to the mitre box or guide rail and fix everything to the workbench with screw clamps. Ensure nothing can slip when you cut the mitre.
 - Make the mitre cut
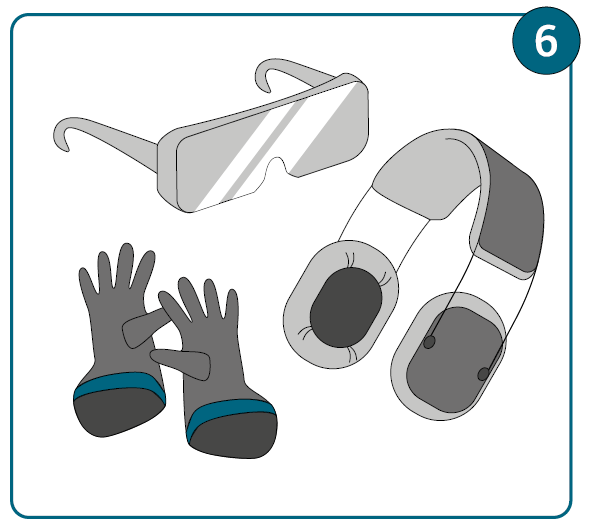 After you have put on the proper protective equipment (cut-resistant gloves, safety goggles, hearing protection), you can now cut the mitre. Cut slowly and in a controlled manner to achieve a precise result.
 - Conceal the mitre
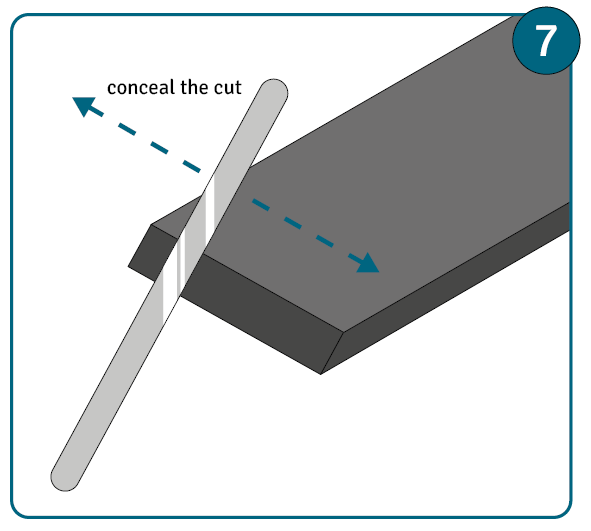 Workpieces may protrude minimally at the outer edge if you have not cut accurately. This is not noticeable on corners. If using wood, you can try to conceal the open mitre by rolling a round metal rod over the edges. Ideally, the wood fibres will be pressed inward and close the gap visually. Never use edged objects for this, as they can leave nicks or damage.
FAQ for mitre cuts
Mitre is the technical term for a corner joint between two structural components. It is created by bevelling the ends of two parts so that when they are combined, they form a desired angle — normally a 90-degree angle. This is achieved through a mitre cut. With proper precision, the parts fit together seamlessly and can be joined almost invisibly with glue or dowels.
For a precise mitre cut, you should observe the following work steps:
1. Measure the total angle
2. Find and calculate the mitre angle
3. Transfer the mitre angle to the workpiece
4. Select the mitre angle of the saw
5. Fasten the workpiece
6. Cut the mitre
Workpieces may protrude slightly at the outer edge if you have not made an accurate cut. This is not noticeable on corners. If your material is wood, you can try to conceal the open mitre by rolling a round metal rod over the edges. Ideally, the wood fibres will be pressed inward and close the gap visually. Never use edged objects for this as they can leave nicks or damage.
Mitre saws are the ideal tool for making mitre cuts. You should look for a mitre saw that can be flexibly adjusted to any angle. This makes them well-suited for delicate and intricate workpieces.
Image source:
© gettyimages.de – photovs